Blown Glass Vessel Tutorial

Home
PAGE 2 - RED VESSEL TUTORIAL

Here's a step by step tutorial of how I make a blown glass vessel.  I hope you find this fun and helpful!  Enjoy!  Samma
 
NOTE:  THERE ARE TWO PAGES TO THIS TUTORIAL.  EACH PAGE IS A DIFFERENT VESSEL...BE SURE TO SEE THEM BOTH!

neckblack1.jpg

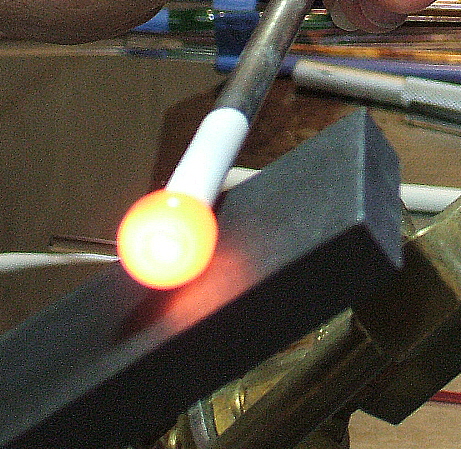
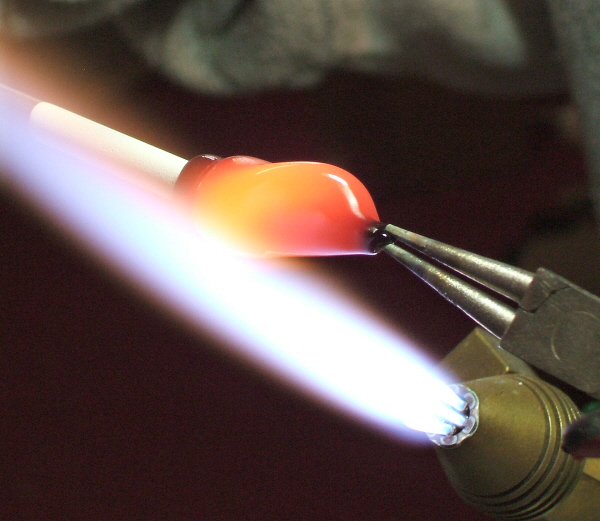
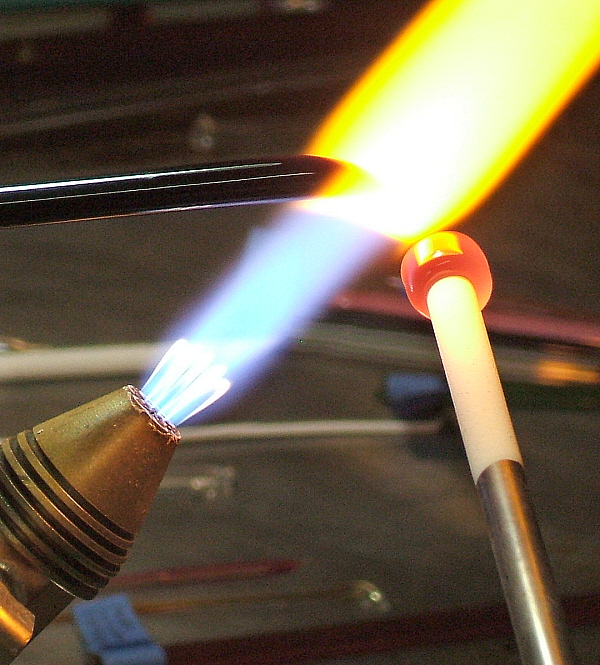
Start by wrapping the neck of the vessel around the hollow mandrel.

startcoilblack.jpg

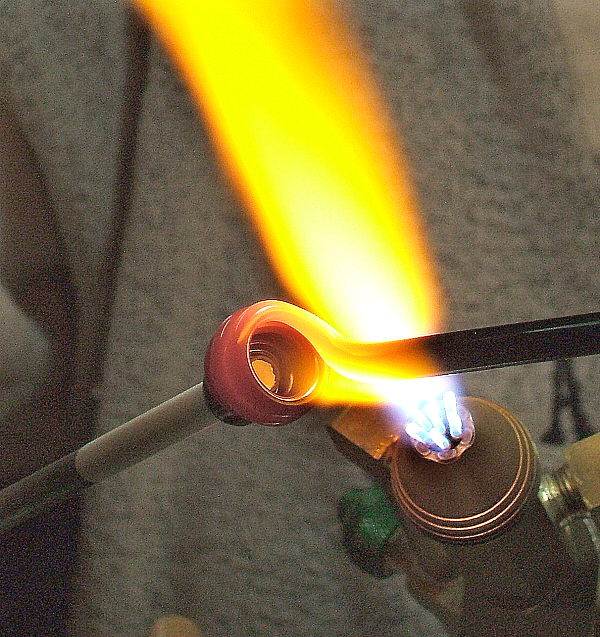
Start making the coil or body of the vessel

coilblack2.jpg

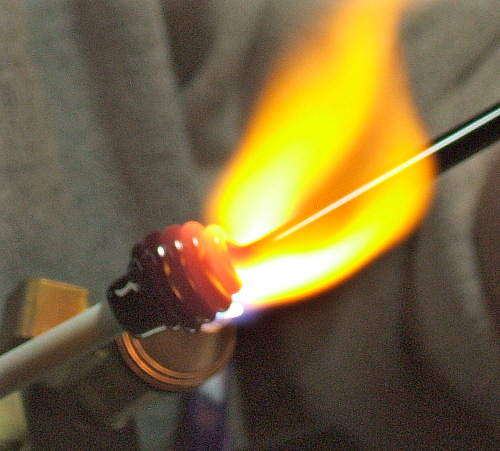
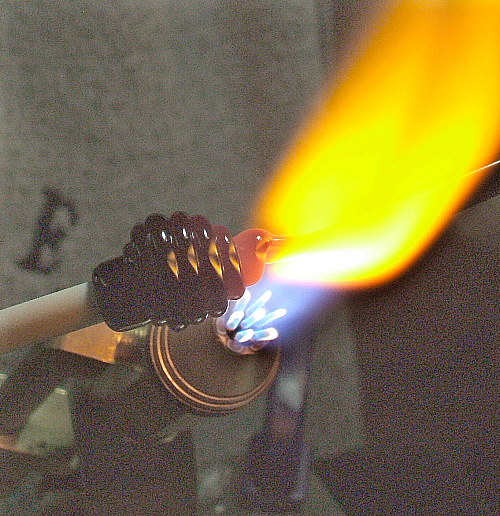
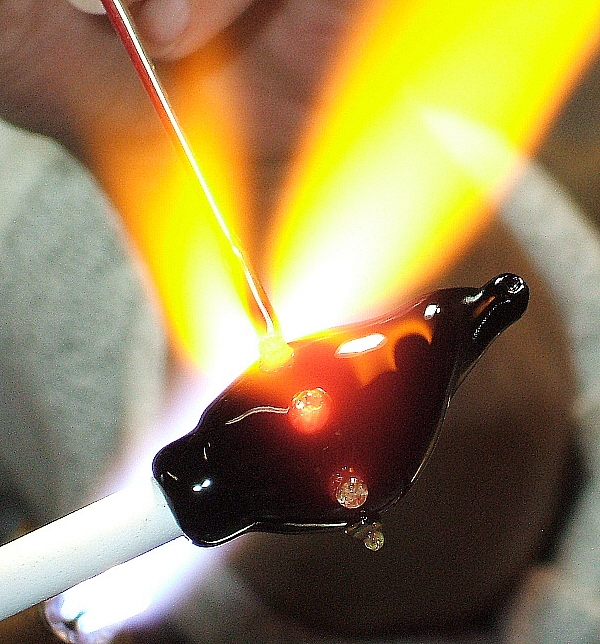
Start closing up the bottom of the vessel, making your coils smaller and smaller.

shapeblack.jpg

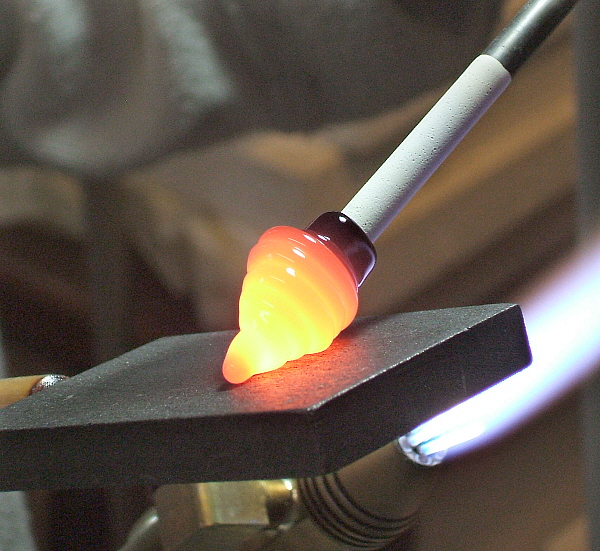
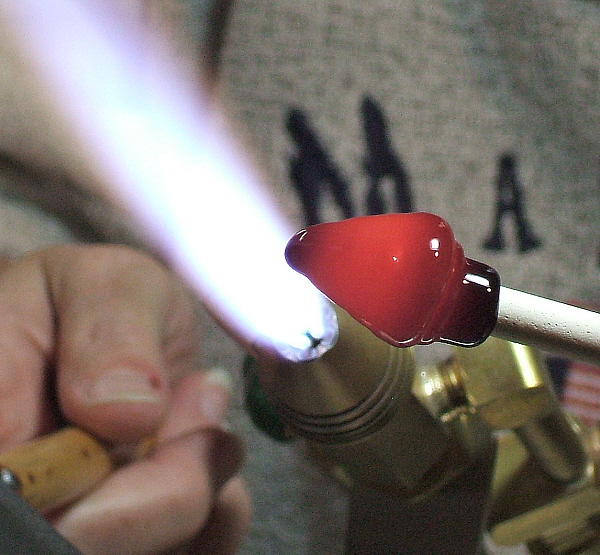
Start to shape it on the marver and melt in the coils to a smooth shape.  Alot of your work can be done in this step.

blackshapeneckrod.jpg

Blow for boro, gently puff with soft until you get the poof you want.  Shape the area where the neck meets the bowl of the vessel for a smooth seal.

blackblowstretched.jpg

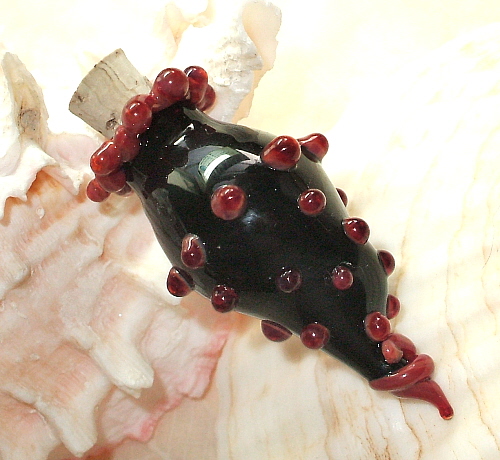
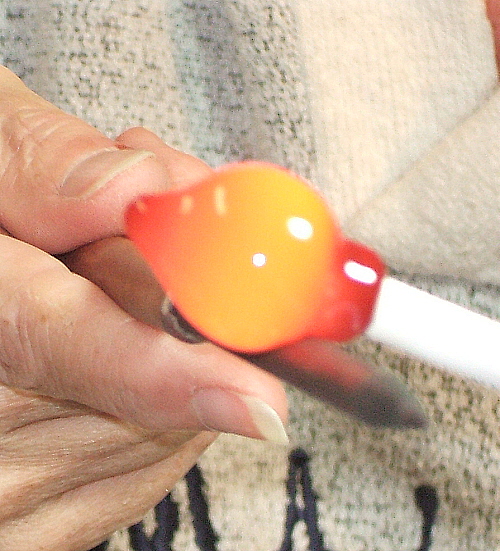
Blow this shape out a little again, to make the top of the bowl bigger than the bottom.  It's all just play at this point.

blackdecorateneck.jpg

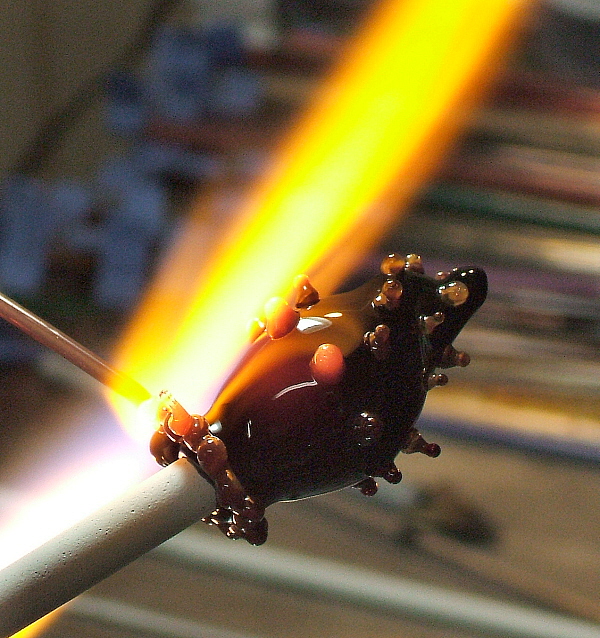
Dots on the neck, dots to follow the curve...just play around the form.  Melt these in to nice round dots and good seal.  You can tweek the shape and angle of the vessel at this point for your finished shape.

blackneck2.jpg

Heat the wrap and smooth it down to your finished neck shape.

coilblack1.jpg

Build the body of the vessel as you would build a coil pot...you made those in grade school, right?

closecoilblack.jpg

Close the bottom of the vessel with a florish and a twist.  Pull it to a fat point.  See it starting to form?

blackshape.jpg

This is the shape before you even start to blow.

blackstretch.jpg

NOW...you can play!  Pull, twist and shout if you want!

blackdotsdecorate.jpg

Add some dots if you want.

1blacktutevessel.jpg

"Twist and Shout!" Vessel measures 50mm x 23mm

CLICK HERE TO GO TO PAGE 2

CLICK HERE TO RETURN TO POSH-ABILITIES.COM