|
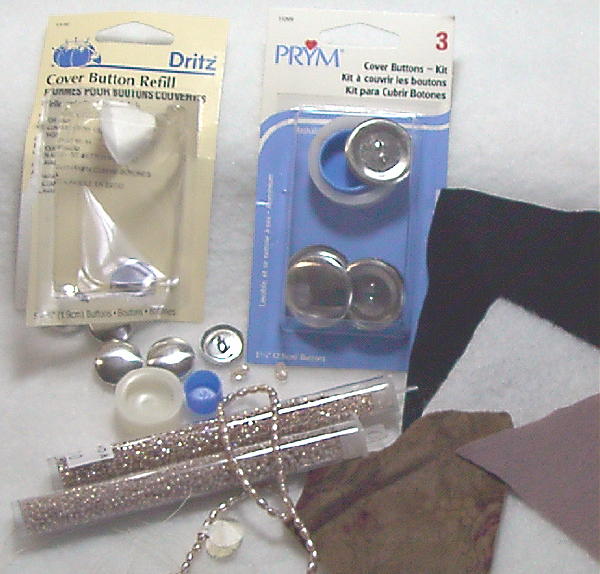
Make your own beaded buttons in a snap! Add that personal touch to jewelry, purses, pillows, curtain tie backs, hats, jackets and more! Let's get started!
| Making the Button |
|
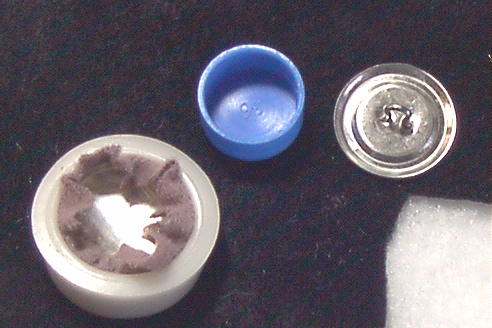
Make the button according to the package directions. The only thing you are adding is the little bit of fleece or padding between the metal button and the fabric. If you have never made one...it goes something like this....
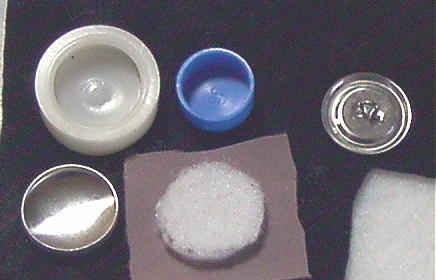
| Step 1: |
|
Trace around the button and cut out a little circle in the fleece. Cut a square of fabric..allow about 1/2" border around the button top. Make a little lasagna of the fabric, fleece and button top. Push it into the white disk, with the fabric being the bottom layer in the disk. When ultra suede stretches it will want to curl right into the form. Tuck those edges in (trim the corners off if they are too bulky) and place the bottom of the button (the piece that has the shank) on top of all this in the white disk. Here's where the blue "thingy" comes in...put that over the button shank and push. You will hear or feel it snap into place. Pop it out of the white disk...you have just made a button!
| Give it the "Once Around" |
|
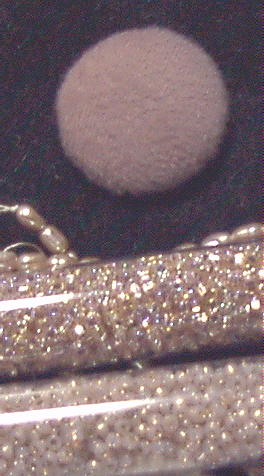
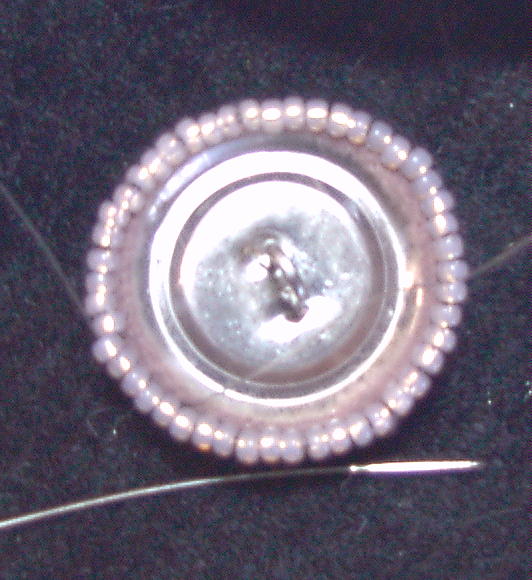
I like to go once around the button at the base with a row of beads. This just gives it a nice finished edge.
Take a small back stitch to anchor your fireline and string on 3 beads. Run those up against the button and back stitch just far enough to go thru those last two beads again. This is called couching and just makes that first layer lay down nicely. When you come to the end, I like to take the fireline all the way around again. That helps to align the beads and make the row nice and clean.
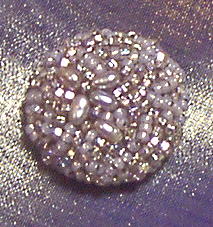
| Start doodling.... |
|
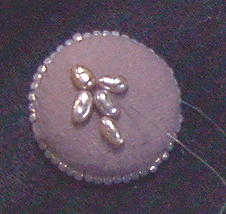
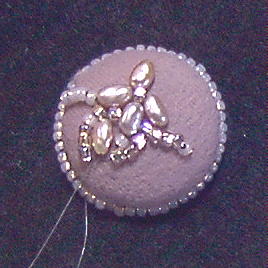
Start doodling with your beads. You can string 3-5 at a time and lay them across the button, insert the needle and come out somewhere else and do it again!
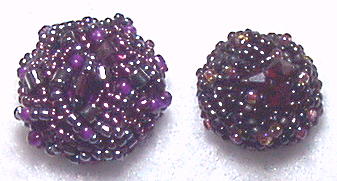
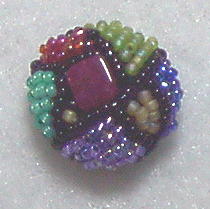
| Doodle on.... |
|
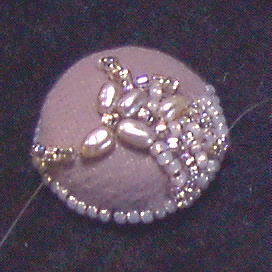
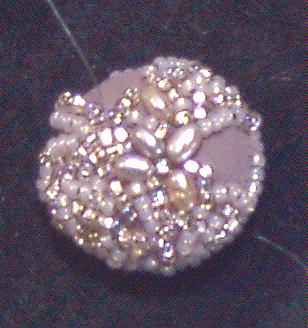
Doodle till you're done! If you have a loose stand, stitch it down. If a bead is sitting funny, "suggest" it in place with your needle, if that doesn't work, take a stitch thru it. Have a small space...just add one bead there.
|